path encoder
a source that moves along a path on the sphere, driven by its own audio
The path encoder encodes a mono or stereo track into ambisonics and moves it along a path you draw on the sphere. Its speed can follow the input: silence stops the source, loud material moves it.
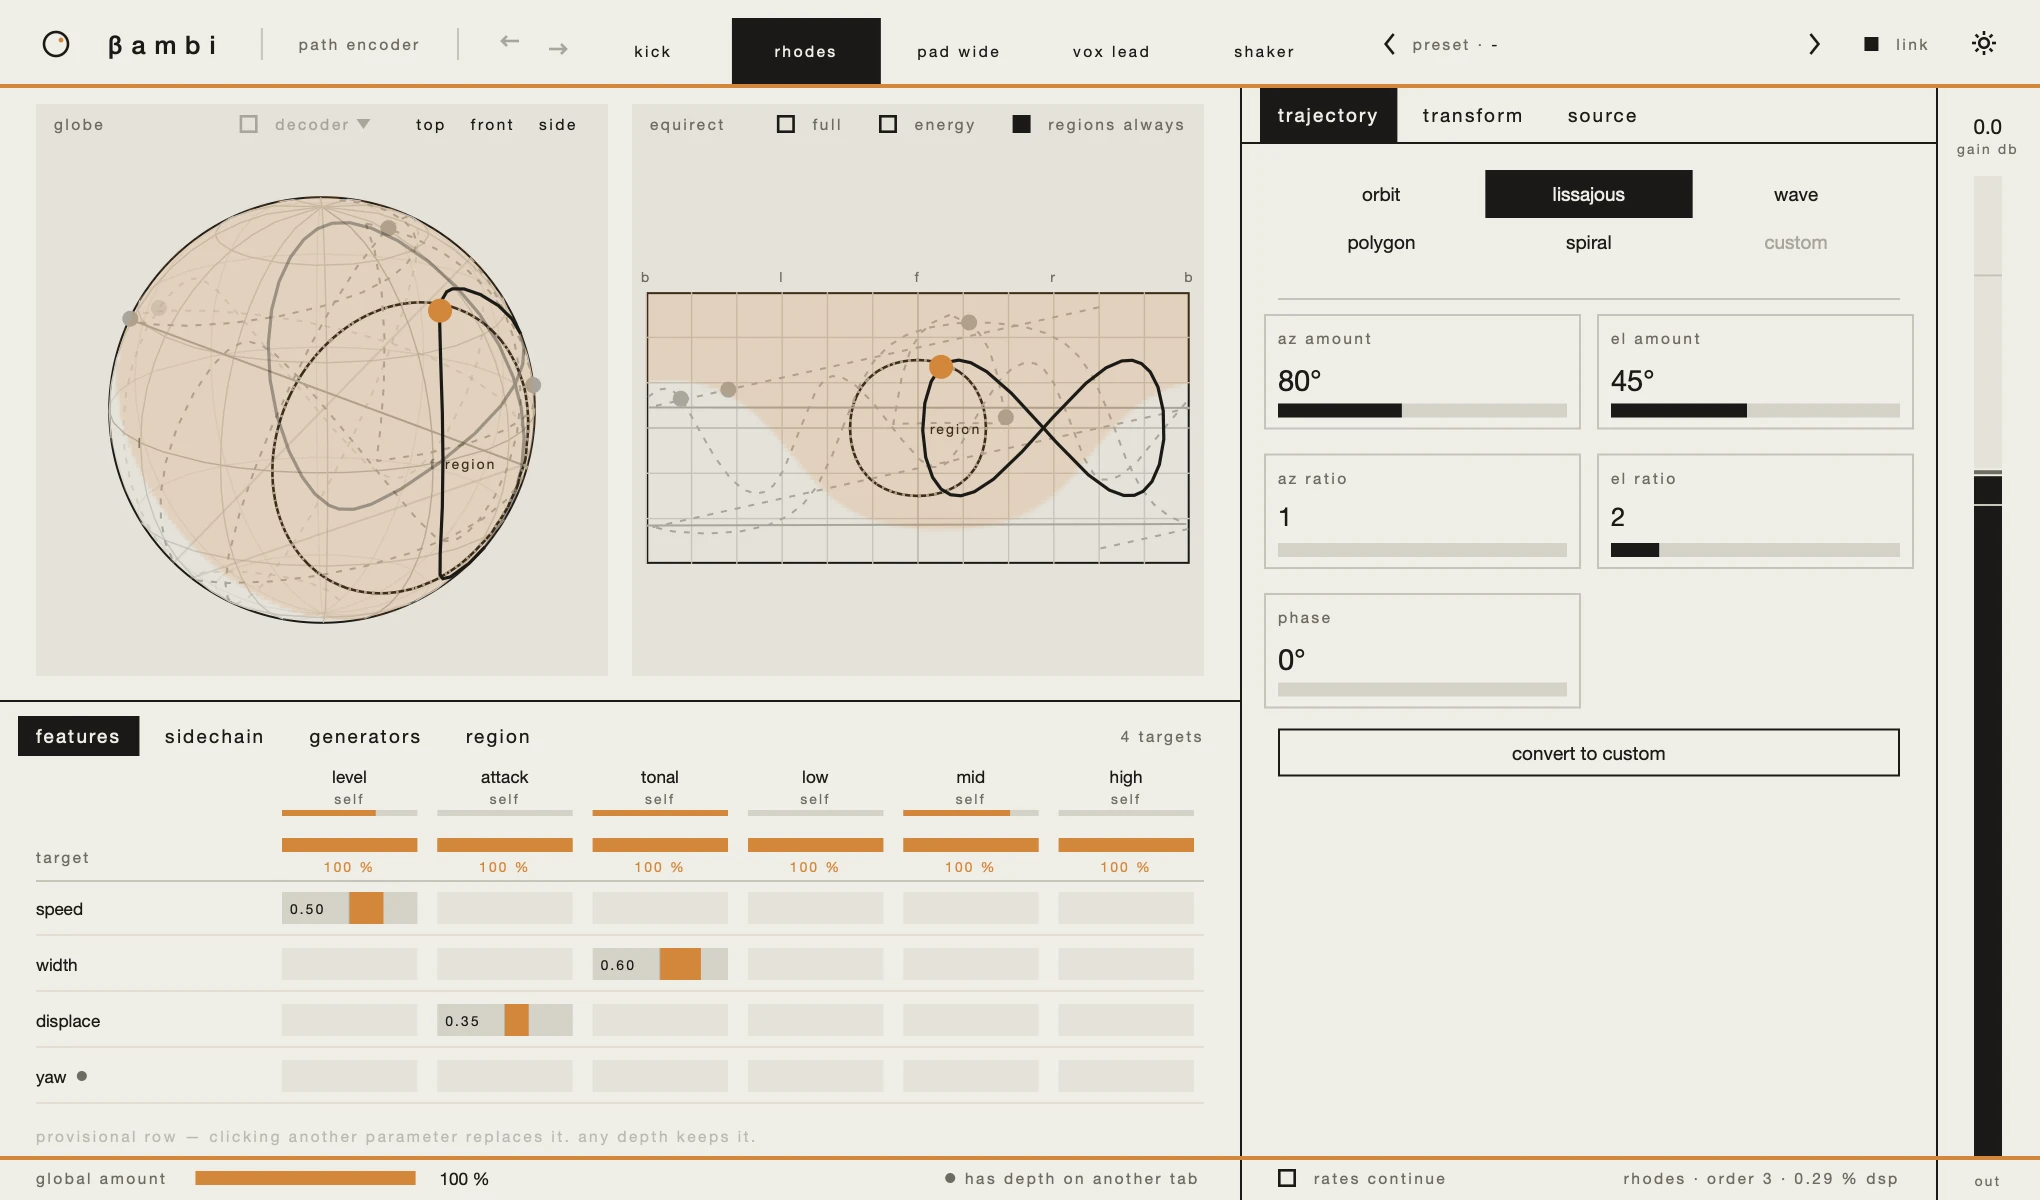
Its window is the one every bambi plugin has; the 3D view, the matrix, regions, presets and the link are explained in the window. This page covers what is the path encoder's own: its three tabs,trajectory, transform and source, and what it shows in the 3D view.
trajectory
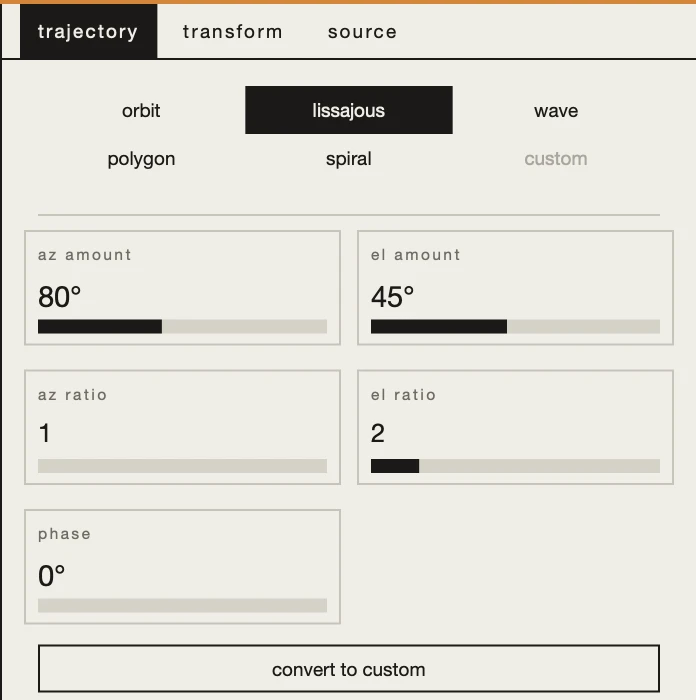
The path's shape. The row at the top chooses a shape, and under it are that shape's settings:
orbit:tilt,axis azandaperture.lissajous:az amountandel amount, how far it swings each way;az ratioandel ratio, how many times; andphase.wave:turns,el amount,wobblesandel offset.polygon:sides,radiusandrotation.spiral:turns,from el,to elandstart az.
The angles can be automated and modulated, so a path can move with the music. The whole numbers — ratios, turns, wobbles, sides — jump rather than sweep, so they are saved with the instance but not automatable. Choosing another shape resets its whole numbers to their defaults; its angles stay as you last set them.
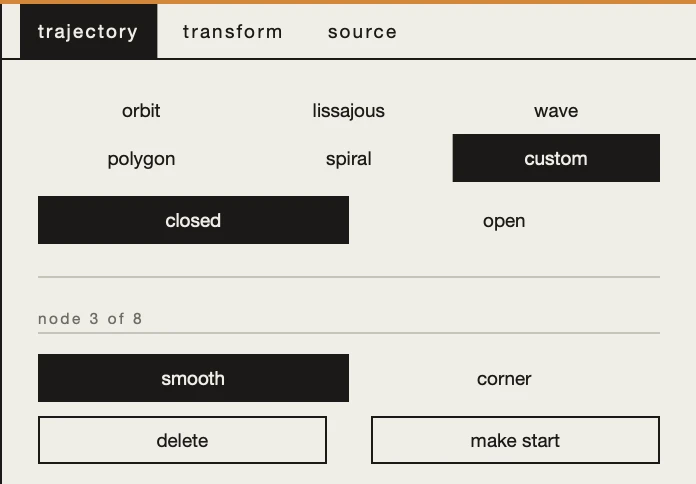
a custom path
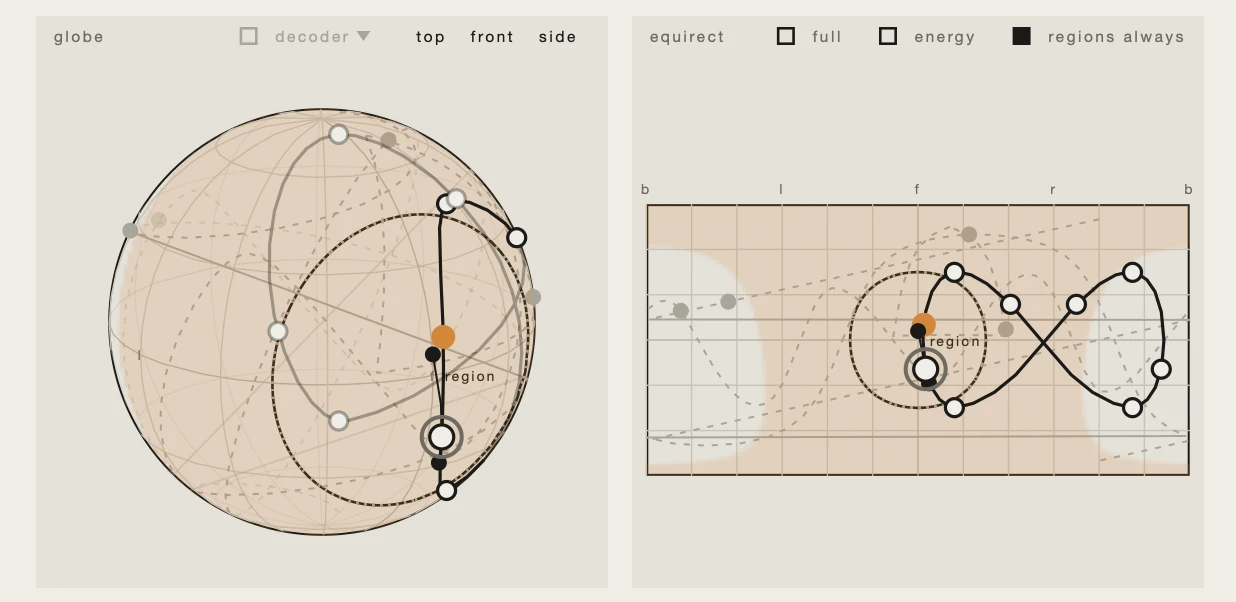
convert to custom turns the path into nodes you edit on the sphere. The shape you converted from is kept: choose it again and its settings come back as they were. custom is offered once you have converted, and converting again replaces the custom path you have.
- Drag a node to move it, and its handles to bend the curve. One drag is one undo step.
- Alt-drag a handle to make a corner.
- Click the curve to add a node there.
- Shift-click a node to delete it. A path keeps at least two nodes, and holds up to 24.
The tab holds the same, in words:
closedoropen: whether the path joins up.- For the selected node:
smoothorcorner, anddelete. make start, on a closed path, makes the selected node the first: where the path is cut when it is opened.
transform
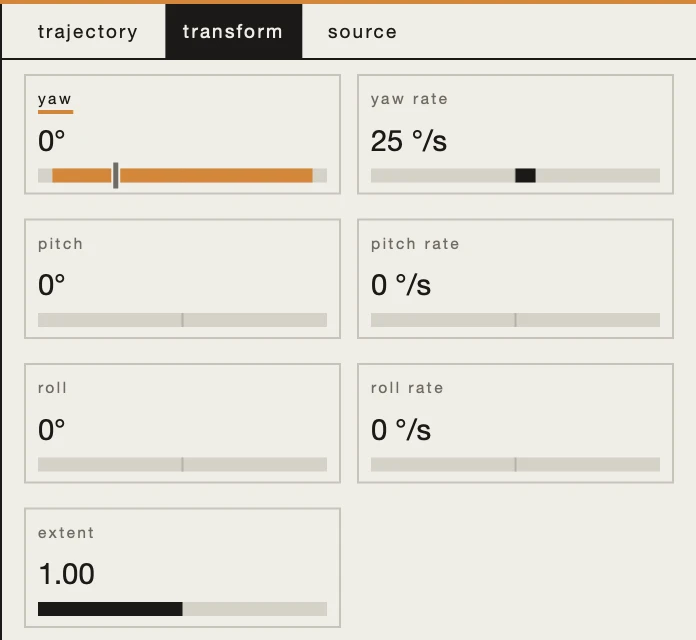
Where the path sits and how it rotates, whatever its shape:
yaw,pitchandroll, each beside a rate in degrees per second that keeps it rotating.extent, from 0 to 2: at 1 the path is as drawn, at 0 it shrinks to its own centre, and at 2 it flips out through the far side.
source
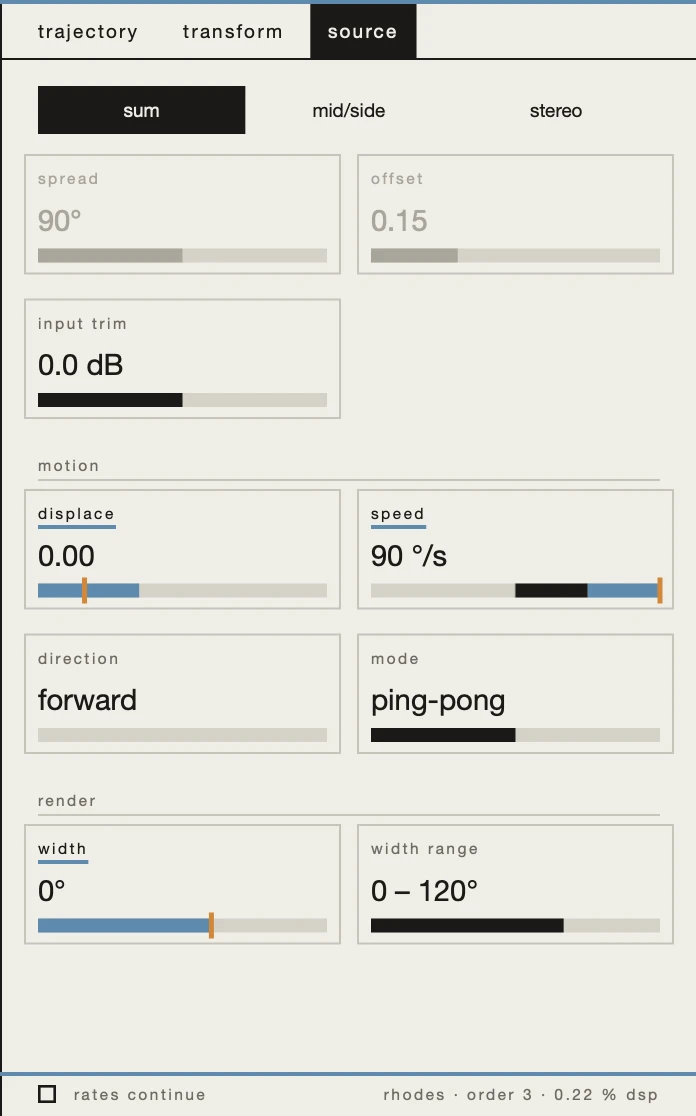
How the track sits on the path and moves along it, in three groups.
- The input.
sumputs one point on the path.mid/sideputs the mid on the path and the side either side of it,spreadapart.stereoputs left and right on the path,offsetapart.input trim, ±24 dB, sets the level before it is analysed for modulation. - motion.
speedis how fast the source moves, in degrees per second, anddisplaceis where on the path it sits.directionis forward or reverse, andmodesays what happens at the ends:wrap,ping-pongoronce. - render.
width, from a point to 180°, is how far the source spreads over the sphere, andwidth rangeis the range modulation can move it within.
the 3D view
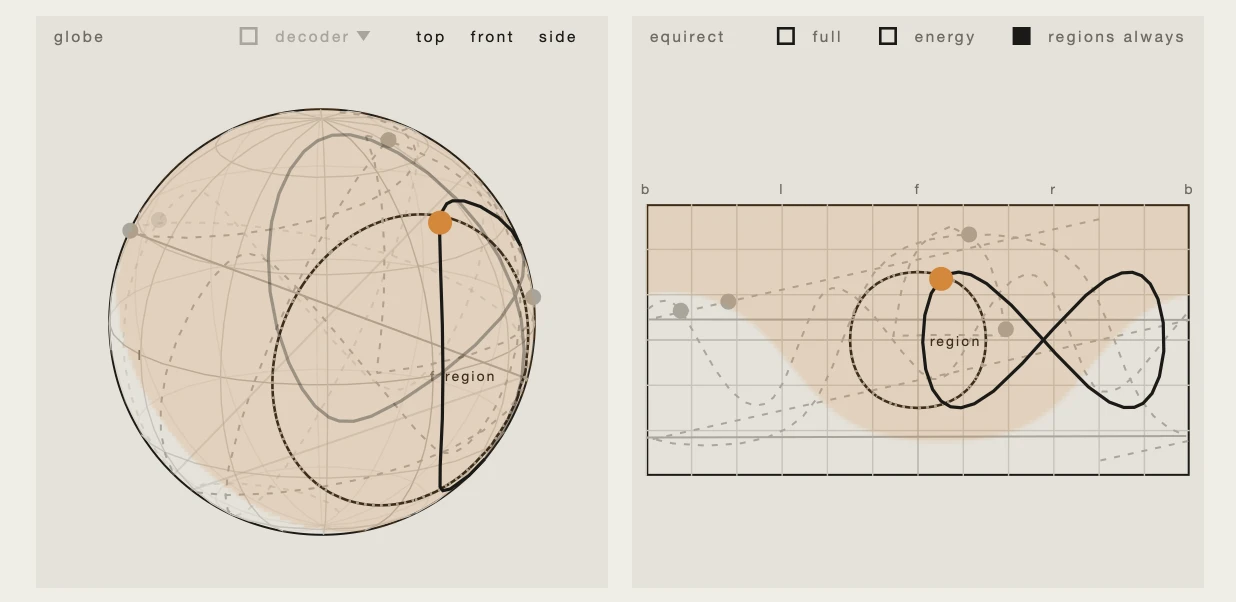
The path is highlighted on the globe and the equirect, with the source on it coloured by its input signal. Every other path encoder in the session is drawn fainter beside it, so you can place each track against the others. Click another track's source or path to switch the window to that instance, as its tab in the header does.
things to try
- The kick nudges on every hit. Choose
polygon, clickdisplace, click the cell underattack, and drag it up. - The pad opens up when it rings. Click
width, click the cell undertonal, and drag. - It drifts slowly, and faster when it is loud. Set
speedto a small value, then clickspeedand give it depth underlevel.